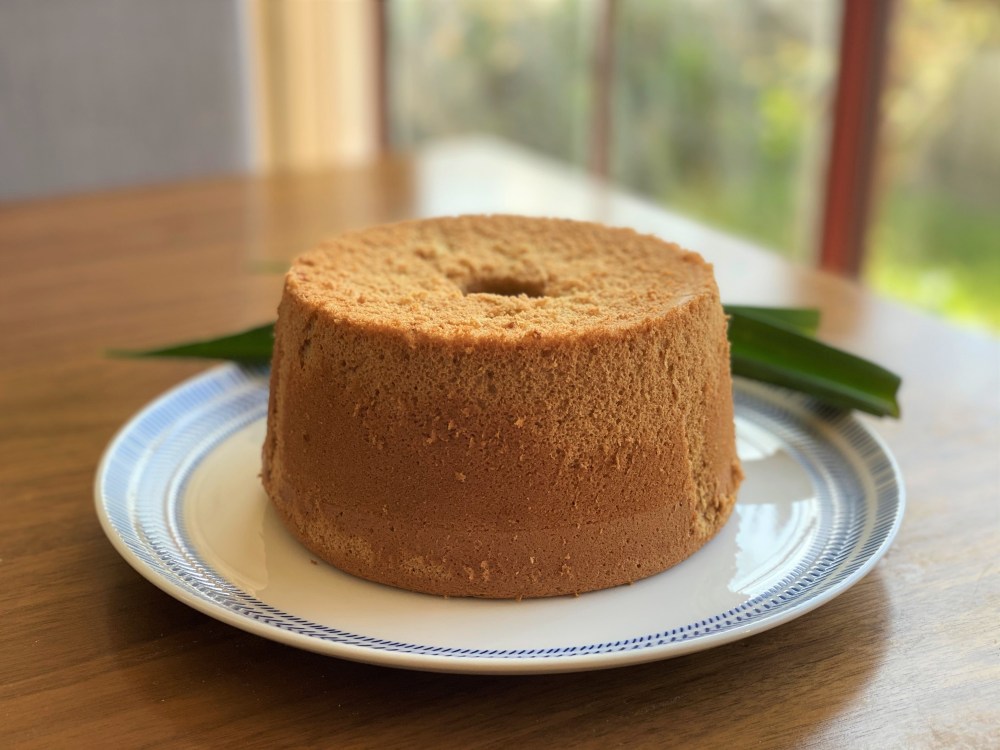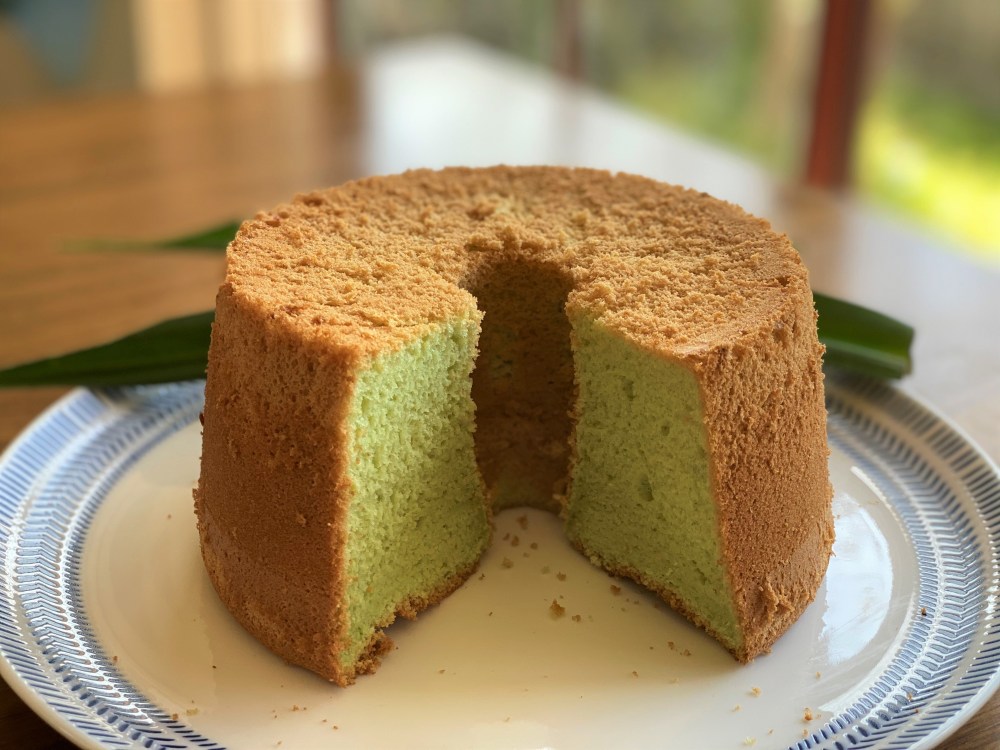
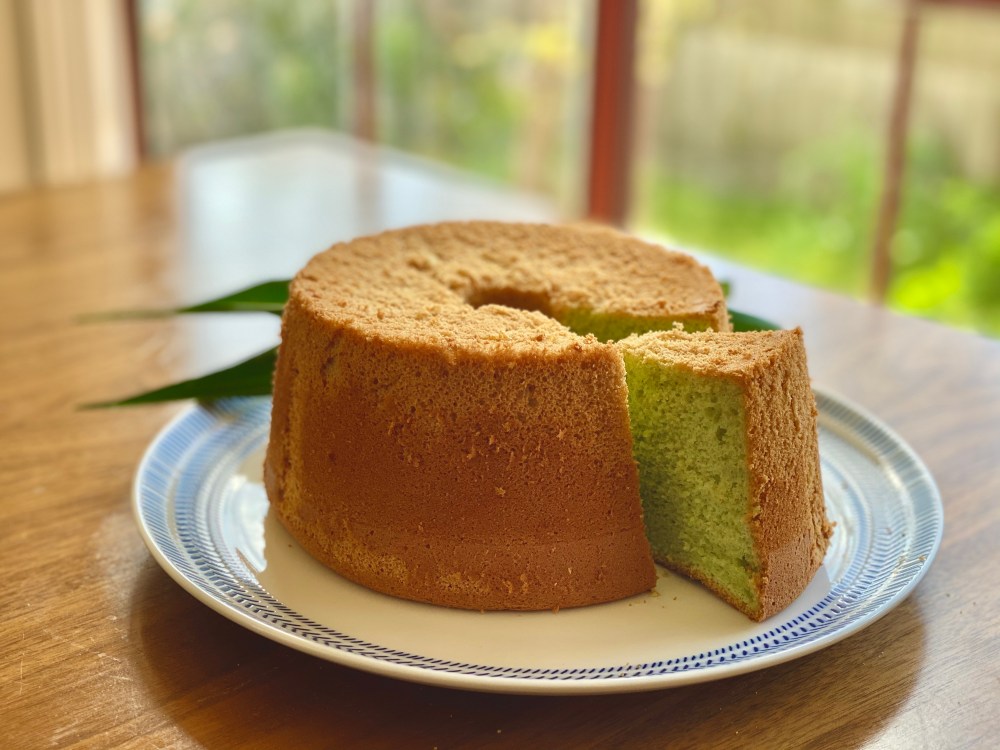
If we had to finish an entire cake in one go, it’ll definitely be a pandan chiffon cake. It is just way too easy to gobble it all up in one go! It’s just so soft, fluffy, airy and light! The idea of pairing coconut milk and pandan is just so ingenious. This cake is so fragrant and so delicious just by itself, without the need for additional frosting or any coating. It originated from Indonesia, and became SO popular in many Southeast Asia countries especially Singapore and Malaysia. In fact, one of our favourite pandan cakes is from Singapore’s Bengawan Solo bakery.
For the perfect chiffon cake, we highly recommend using a proper aluminium chiffon cake pan. Yes… it is much more troublesome cleaning it afterwards, but it keeps the cake from sinking, giving it such an airy light fluffy texture. Otherwise, you may still use a non-stick pan, it will still taste good, but denser.
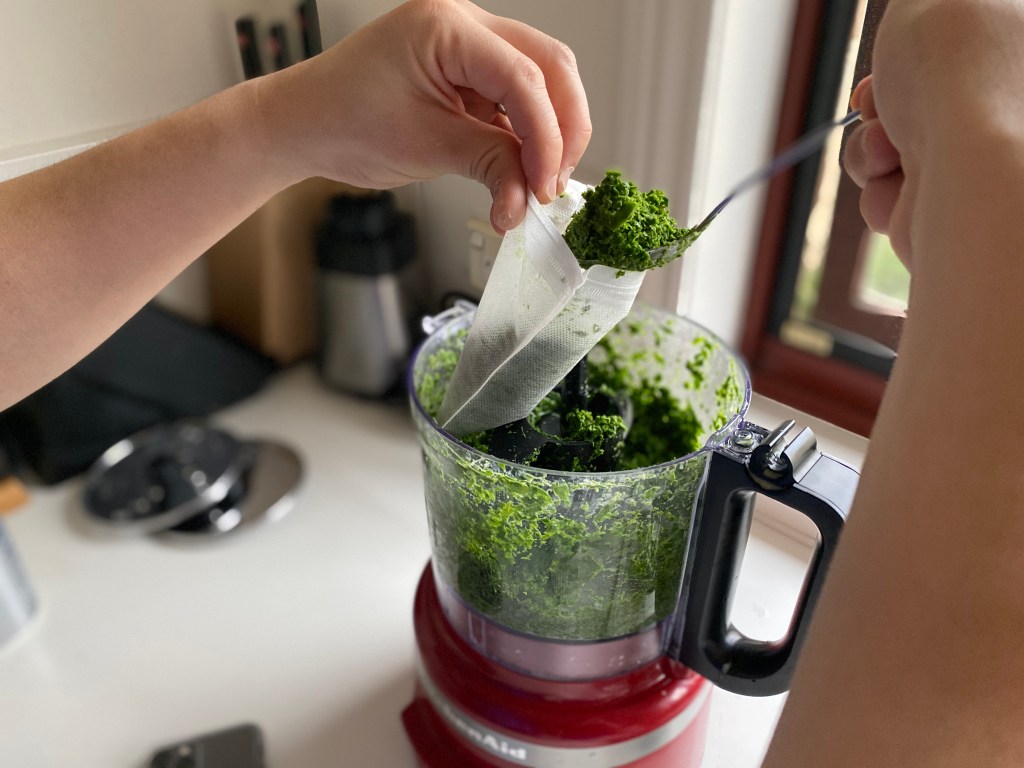
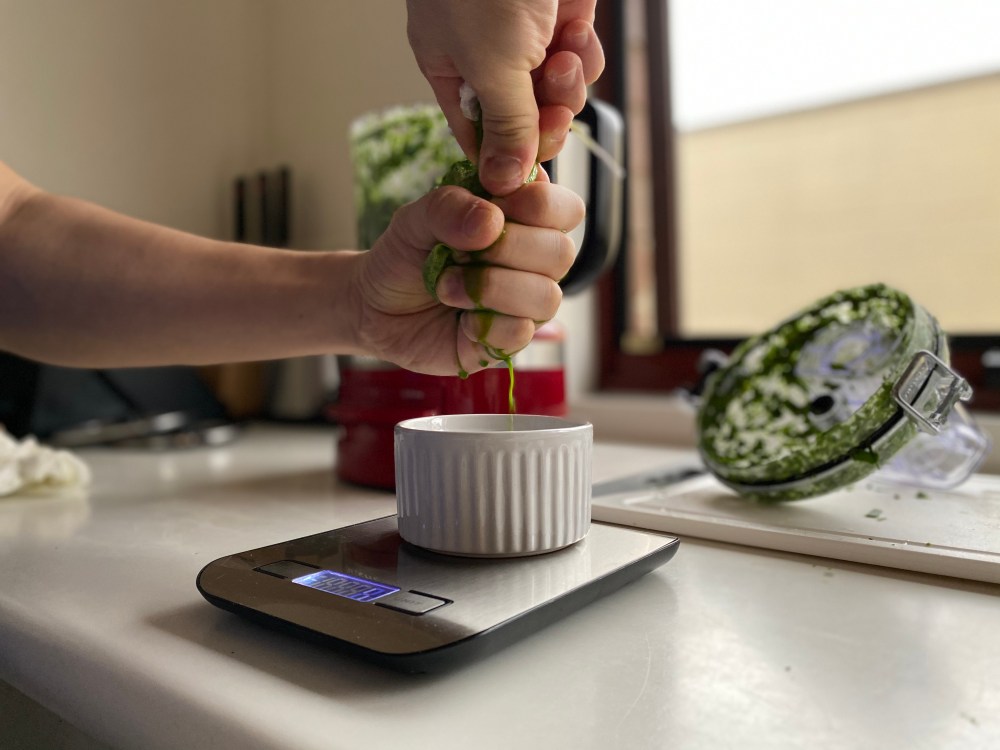
For this recipe, we have provided quantities for pan sizes of approximately 17cm as well as 20cm. Before you start preparing ingredients, preheat the oven at 170 degree Celsius. Next separate the eggs to yolks and whites by placing egg yolks in a medium bowl and whites in a larger bowl. You then need to prepare the pandan juice by washing, drying and then roughly chopping the pandan leaves and blending them in a processor for about 5 minutes together with 1 tablespoon water and 1 tablespoon coconut milk. To obtain the pandan juice, you need to place the processed leaves in a cheesecloth and squeeze hard. If there are any leaf bits in the juice, you should sieve it.


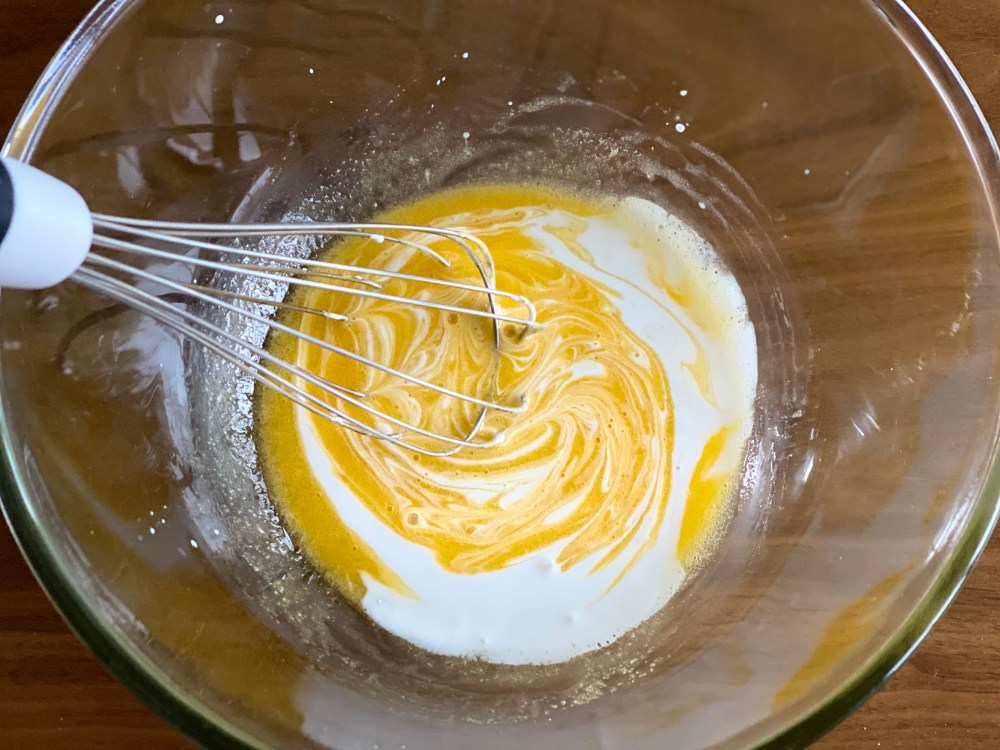
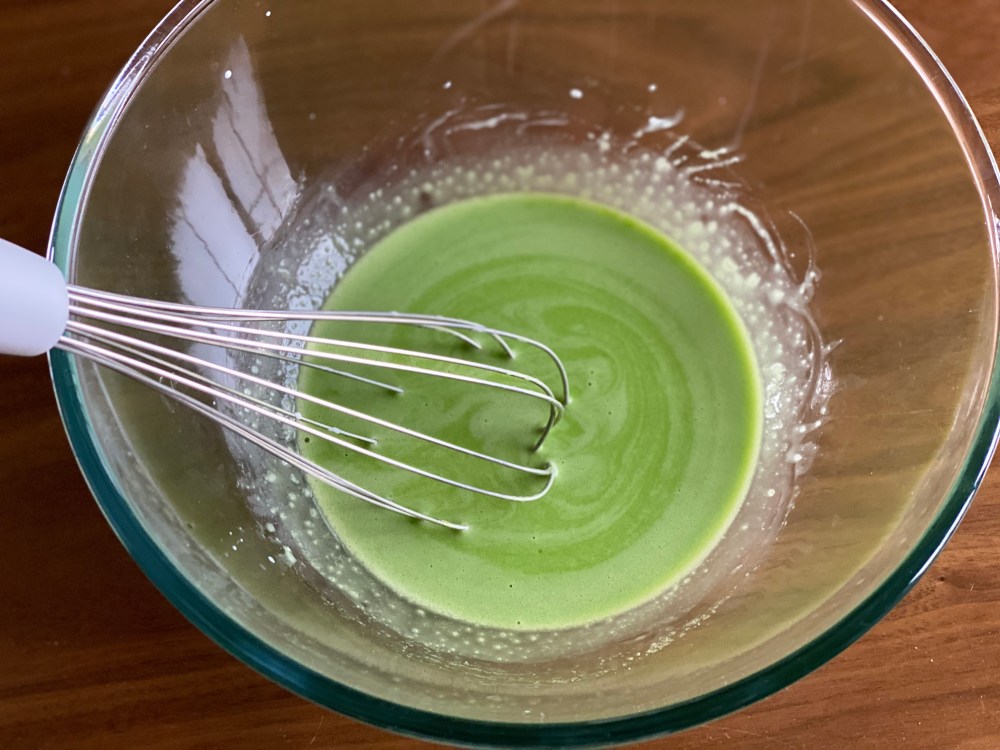
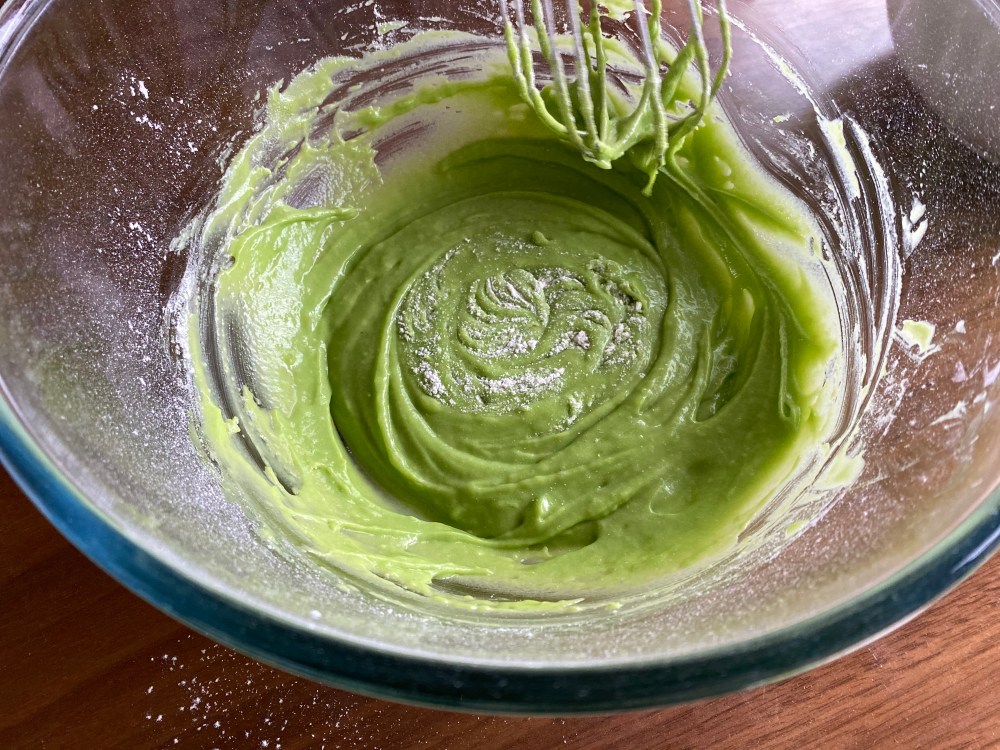
For the batter, start by beating the egg yolks until colour lightens, then add in 20 grams of the caster sugar and whisk until it becomes creamy pale yellow. You may use an electric beater or do it manually which is what we do. Next, add in oil, coconut milk, pandan juice, pandan extract and food colouring. Mix well and gradually add in sifted cake flour and baking powder whilst continuing the mixing. Note that the food colouring is optional, but without it, it will be eventually be yellow instead of green. We have tried using only green pandan essence or extract as well, and unfortunately it always taste artificial compared to using fresh leaves.

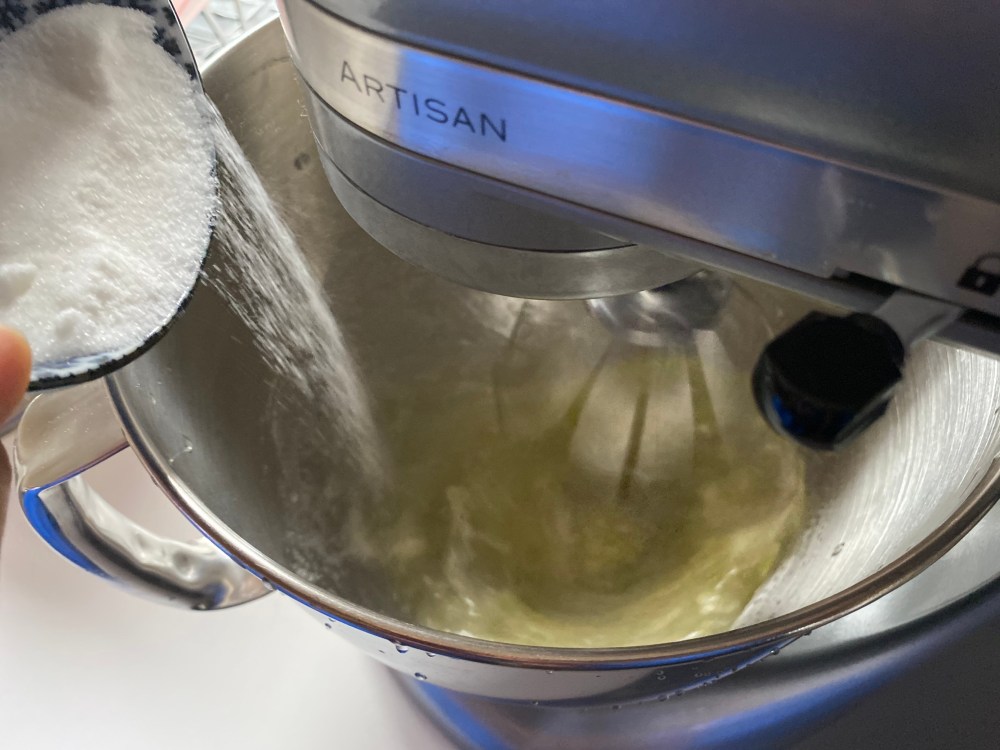
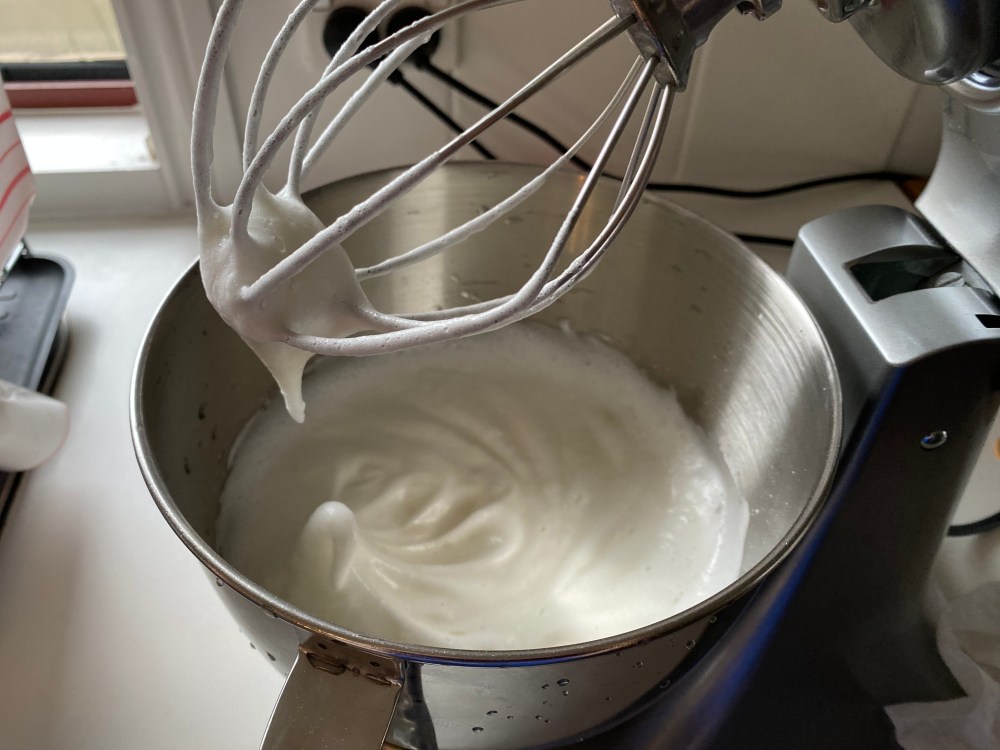
For the cake to be light and fluffy, you need meringue! For this, we had to use our KitchenAid beater. You need to beat the egg whites until foamy and bubbly, and gradually add in the rest of the sugar in small increments. Beat at high speed until it gets more opaque and add salt. Continue beating until stiff peaks form. To check, pull up whisk and check if beaten white eggs go up with just the tip slightly folding over. Make sure not to over or under beat!
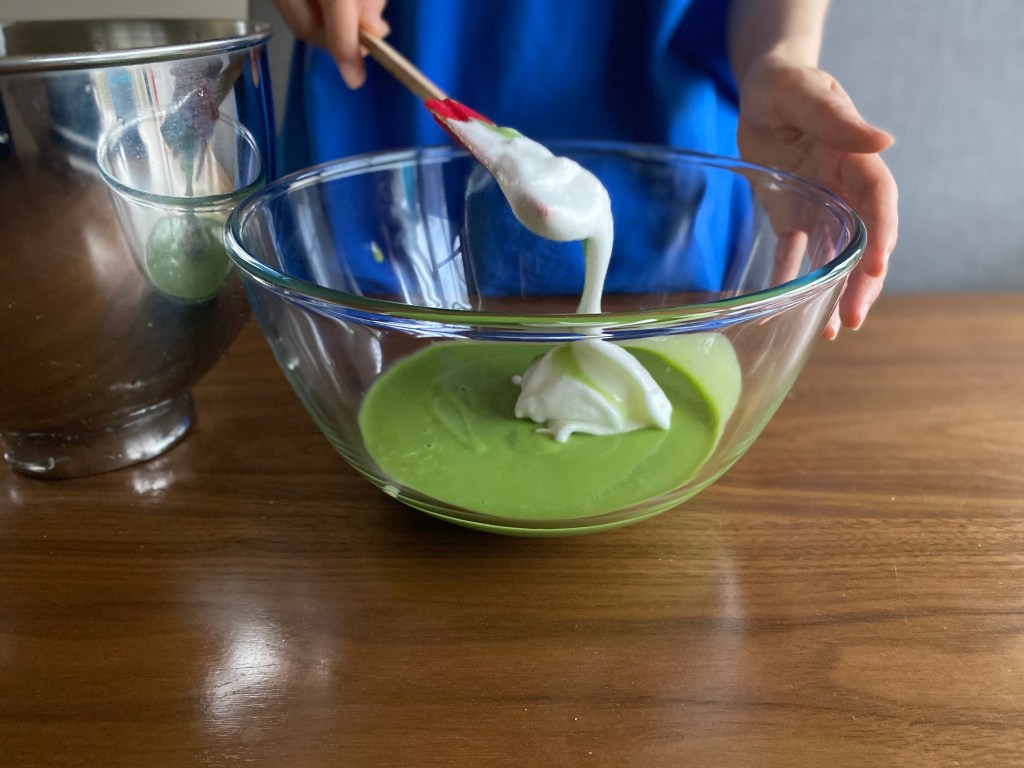
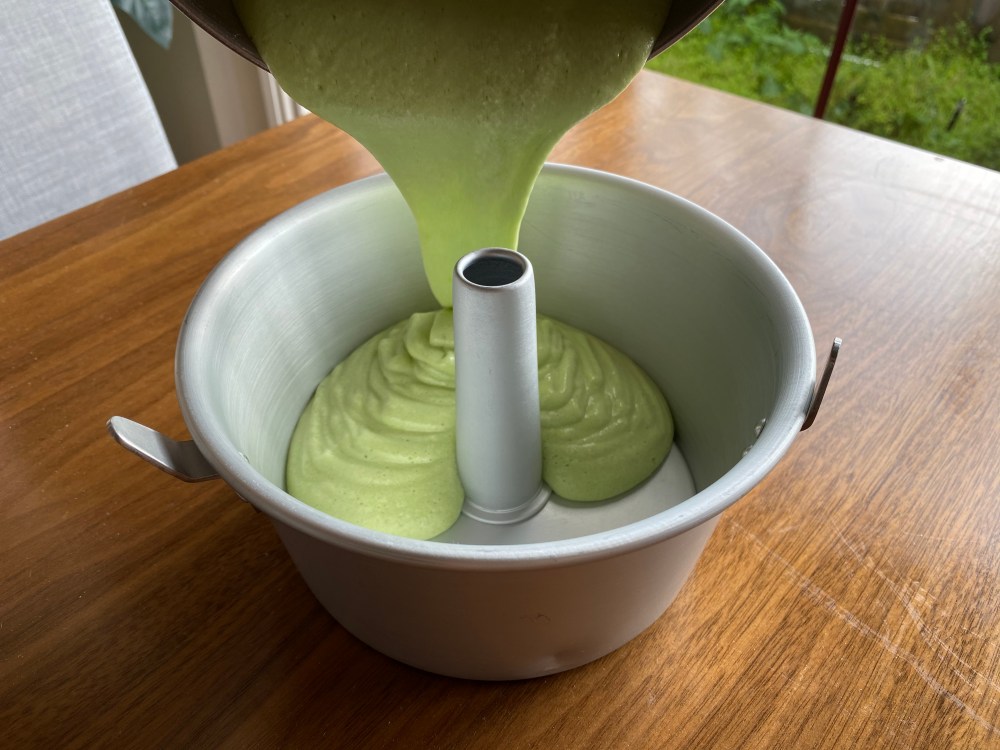
Eventually, add the meringue into the batter in thirds. Each time, gently and slowly fold meringue into the batter to prevent breaking the air bubbles. Fold until both are mixed thoroughly. Then slowly pour the mixed batter into the chiffon cake pan. To prevent unwanted bubbles, pour at the same location instead of going around the pan. Run a skewer or wooden chopstick through batter to remove large air pockets, followed by lifting and dropping the pan gently on a table a couple times to prevent air going into the bottom. Another important tip is that when you pour and fill the batter in the pan, it should only fill 3/4 of it and not above. If overly filled, there won’t be a sufficient amount of pan wall surface for the cake to ‘grip’ onto, instead it will rise too much over the rim of the pan, resulting in distortion of the cake when you remove it, especially along the sides.


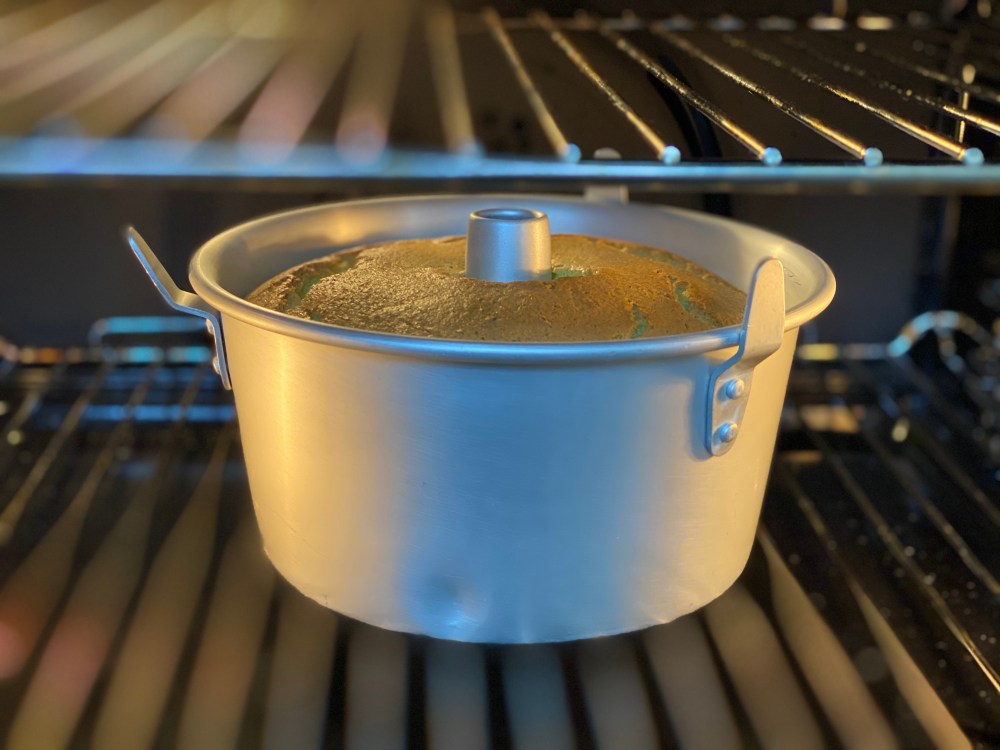
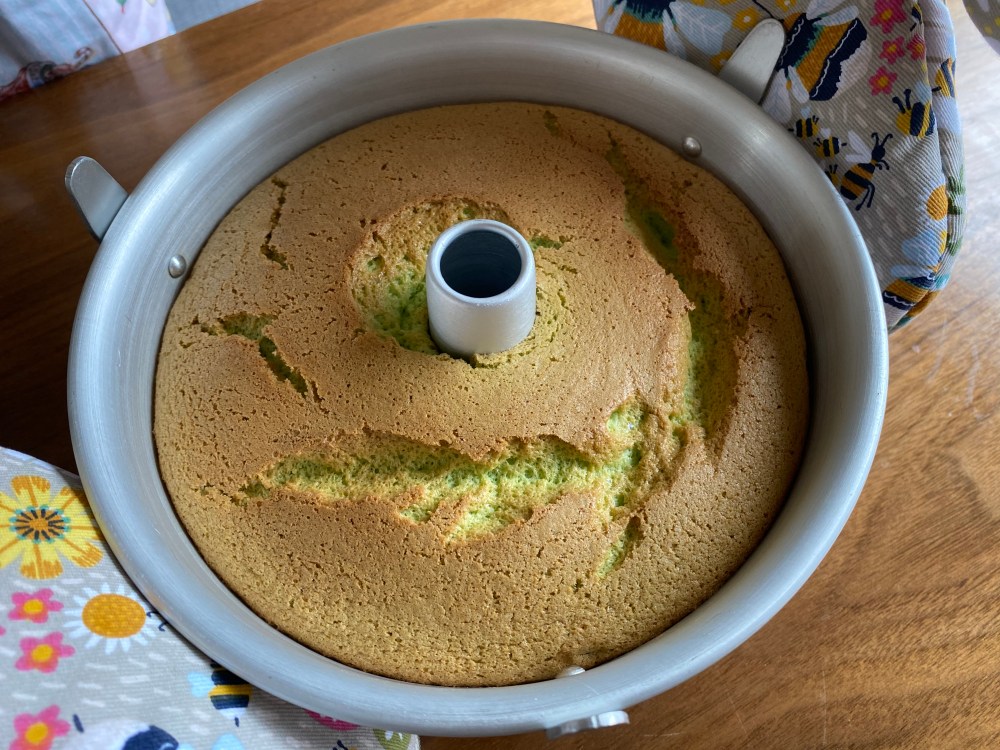
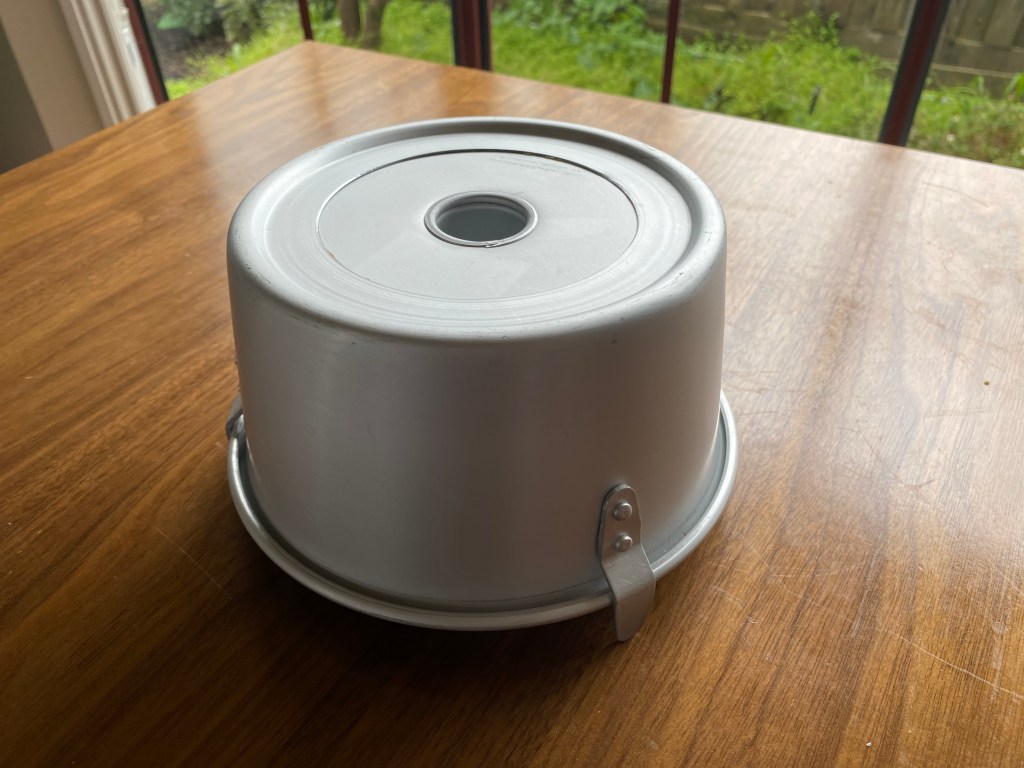
When ready, place pan in preheated oven and bake for 30 – 35 minutes for 17 cm pan OR 35 – 40 minutes for 20 cm pan. The top should turn golden brown. You may also check by using a wooden chopstick/skewer to insert into the cake, it should come out clean. Once out of the oven, place it upside down for about 2 hours or until it fully cools down.

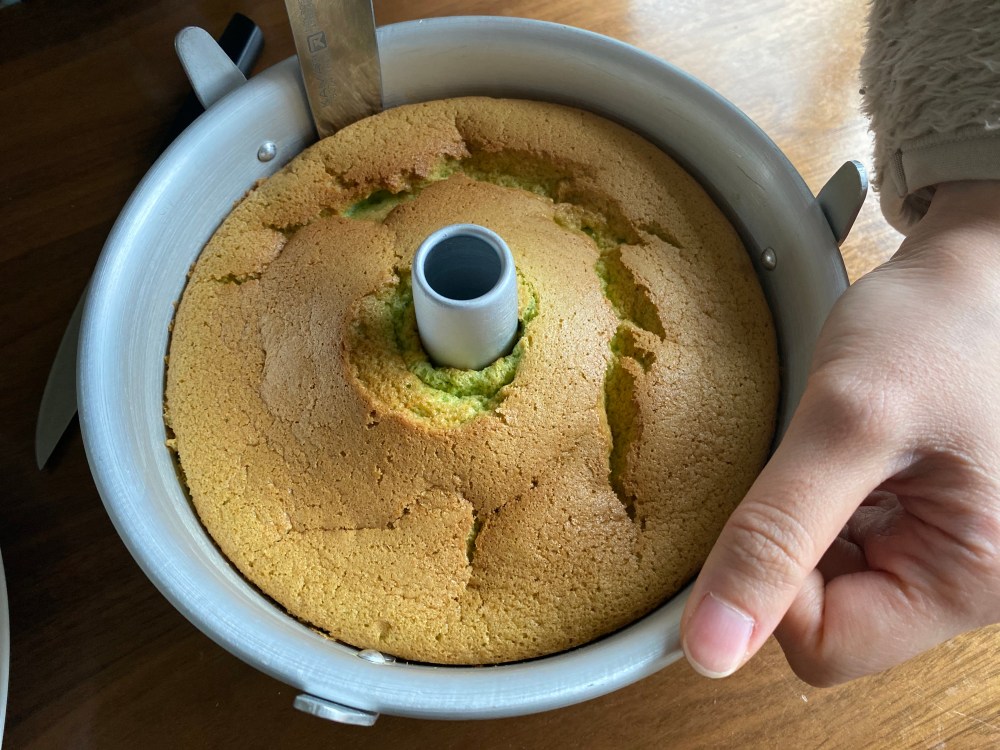
To remove, use a thin sharp knife and run it around the inner and outer edges. Take it slow! You should then be able to push the cake out from the bottom. Slowly run the knife on the bottom. Flip cake over onto a cake plate, then gently twist and remove the pan bottom off the cake. To properly cut out cake slices, use a serrated knife, and ready to serve!